Entering HMO Properties and Tenancies
One of the key features of Landlord Vision is the ability to record and monitor HMOs (Houses of Multiple Occupancy). To do this you need to create a property, set up rooms within that property and then assign tenancies to those rooms. This guide takes you through that process.
Assigning tenancies to the rooms
Once you have your property and rooms all set up, now you can go about assigning these rooms to a tenancy.
Press the Create Tenancy button.
Enter the Property Reference of the property you created above.
Fill in the Tenancy Details with the Start Date, End Date, Rent Amount and Payment Term.
At Tenants, enter the Primary Tenant and in the Rooms box, select the room that they will be in.
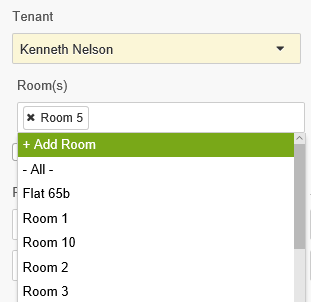
If you do not specify a room at this stage, Landlord Vision will allocate that tenant to the whole building, and rooms which are unoccupied will not show up as vacant.
With the tenant and room selected, fill in the rest of the information and press Save. If you go back to Property Manager > Properties > Select the property > Rooms tab you will see this tenancy assigned to that room. You can now repeat the process for the rest of the rooms.
The software will group all of the tenancies under the single property for the purposes of the accounts, and you can allocate expenses against the whole building or individual rooms as required.
Customer support service by UserEcho
